To run an Angular application over HTTPS using ng serve, you can use the –ssl and –ssl-key options to specify the SSL key file, and the –ssl-cert option to specify the SSL certificate file.
Here are the steps you need to follow to serve your application over HTTPS using angular-cli:
1. Generate SSL Certificate and Key
You need an SSL certificate and key to enable HTTPS. You can generate a self-signed certificate using tools like OpenSSL.
If you don’t have OpenSSL installed, you can install it or use an online service to generate a certificate.
openssl req -x509 -newkey rsa:2048 -keyout server.key -out server.crt -days 365 -nodes
This will generate server.key (private key) and server.crt (certificate) files.
2. Serve Angular Applications with HTTPS
Angular CLI v7.0.0 and above:
Starting from Angular CLI version 7.0.0, HTTPS is supported natively.
You can use the below common line options to serve your Angular application over HTTPS.
–ssl – boolean to whether enable or disable SSL; defaults to false
–ssl-key – Relative path to the private key file
–ssl-cert – options to serve
Open a terminal in your Angular project directory and run:
ng serve --ssl true --ssl-key "path/to/server.key" --ssl-cert "path/to/server.crt"
Replace path/to/server.key and path/to/server.crt with the actual paths to your SSL key and certificate files.
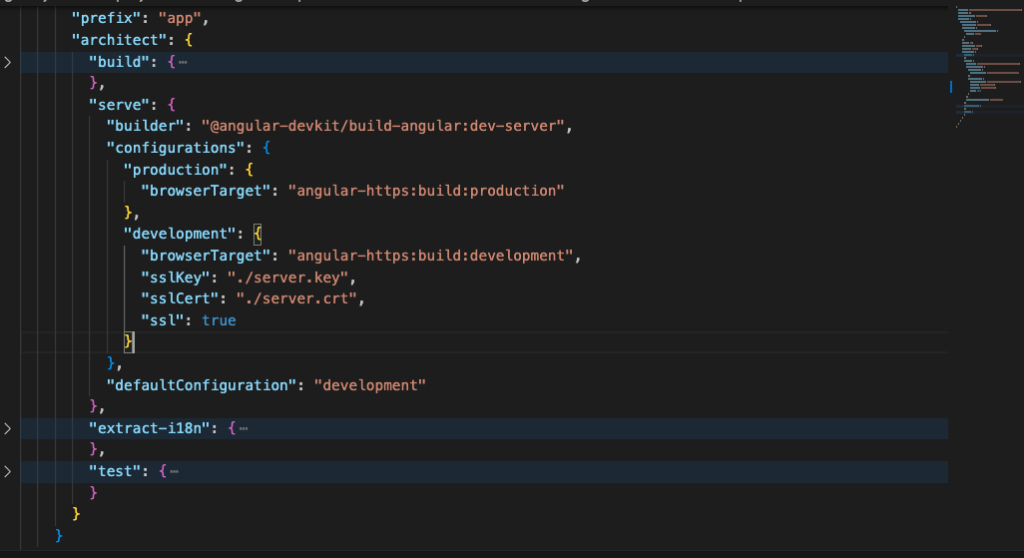
If you do not want to use command line arguments with ng serve then you can add the following configs in angular.json and run the ng serve command on the terminal.
Angular CLI 6+
If you want to turn on and off the ssl as per your choice then you can remove the “ssl”: true line from the options and add the –ssl flag to your command when running ng serve over HTTPS.
Angular CLI v6.0.0 to v6.2.9
For Angular CLI versions 6.0.0 to 6.2.9, HTTPS is not supported natively with ng serve. However, you can use the ng serve –ssl workaround:
ng serve --ssl
The Angular CLI will automatically generate a self-signed certificate for you.
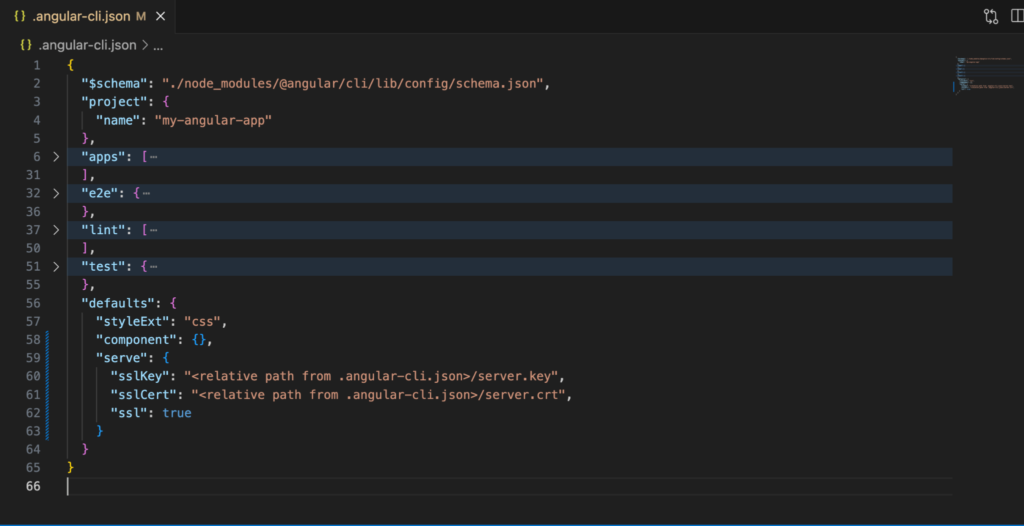
Angular CLI < 6
The Angular CLI configuration format is different from versions 5 to 6. Prior to Angular CLI version 6, the config would be added as follows:
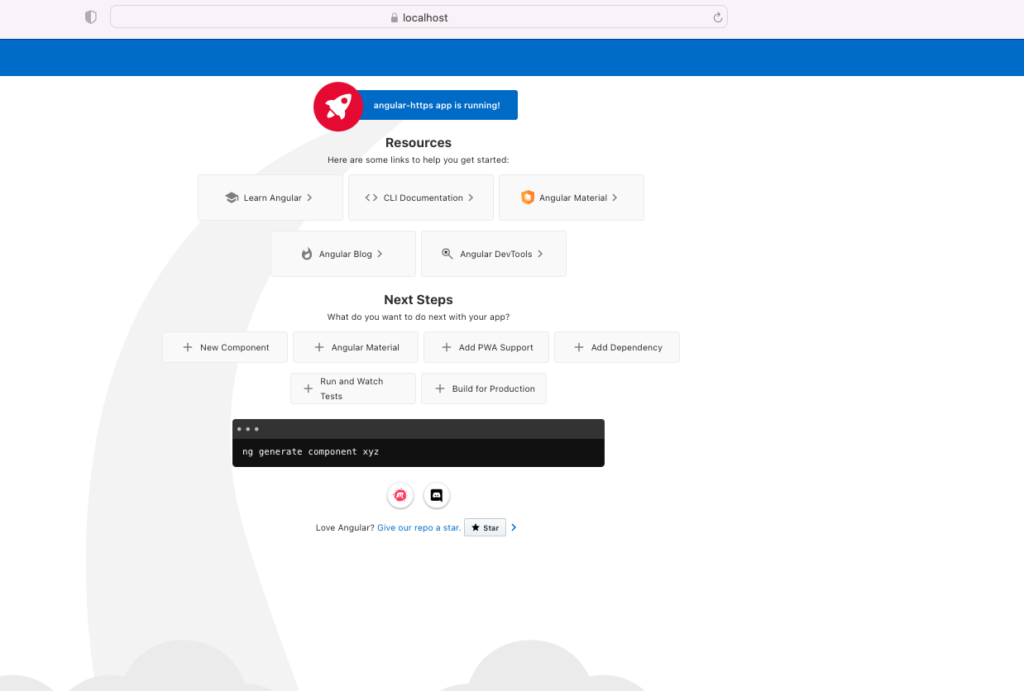
3. Access the Application
Your Angular application should now be accessible over HTTPS. Open your web browser and visit https://localhost:4200 (or the port you specified with –port if it’s different from the default 4200).
Note: Since you are using a self-signed certificate, your browser may display a warning that the connection is not secure. This is expected for self-signed certificates, and you can proceed to view the site.
Remember that using a self-signed certificate is unsuitable for production environments. For production, you should obtain a valid SSL certificate from a trusted certificate authority.
If you want to use a custom domain or need a more robust solution, consider setting up a reverse proxy (e.g., using Nginx or Apache) to handle HTTPS termination in front of your Angular development server.
Need Help With Angular Development?
Work with our skilled Angular developers to accelerate your project and boost its performance.
Hire Angular Developers