Quick Summary:
As technological advancements take a step further to change our daily lives. Every business owner strives for faster, more efficient, and more effective implementation of their applications to gain a competitive edge over their competitors. To address this fast-paced, changing development environment, containerization has recently gained significant popularity. Docker has recently emerged as a powerful solution that helps package and deploy applications, exploring benefits, installation steps, Dockerize Angular Apps, its benefits, deployment options, CI/ CD integration, testing, optimizing, and Angular Docker best practices.
Table of Contents
Docker and Angular: An Overview
We know Docker is an open platform for developing shipping and running applications. It lets you separate your applications from your already-made infrastructure, reducing development time and delivering the software quickly. It also offers to manage the infrastructure similar to how you manage your applications.
Similarly, Angular is a development platform built on TypeScript with a component-based infrastructure for building scalable web applications. Angular has a vast collection of integrated libraries that offer various features, including routing, forms management, client-server management, and more.
Well! With this, we can see that Docker and Angular are compelling enough for your development projects. However, to understand their impact on your development process, their benefits, and further details, along with how you can also Dockerize Angular Apps, let us proceed with our topic.
Benefits of Using Angular Docker Development
Dockerization, or Containerization, refers to packaging an application and its dependencies into a standardized unit called a container. Docker is the popular containerization platform that enables you to create and run applications in isolated, lightweight, and portable containers. However, considering the Dockerize Angular Apps brings out several benefits that will help you gain enhanced efficiency and effective results for your web application development. Some of these benefits include:

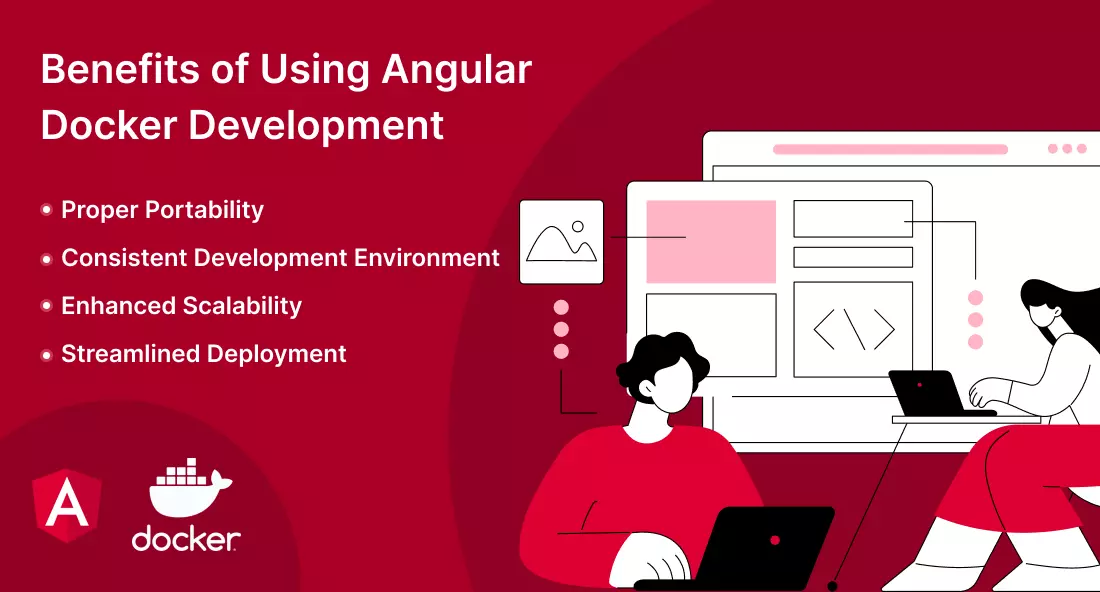
Proper Portability
The foremost benefit of Docker Angular is that it offers enhanced portability as the Docker container can be run on any system with Docker support; this ensures consistent behaviour across different applications, thereby offering seamless deployment across different environments without compatibility issues.
Consistent Development Environment
The Docker desktop enables developers to achieve consistency in development to ensure that all developers have the same environment, eliminating the “work on my machine” problem as it allows for a standardized and self-contained package that can be easily distributed and deployed on various platforms, from local machines to cloud servers.
Enhanced Scalability
Dockerization offers enhanced resource utilization and scalability, allowing for running multiple application instances in separate containers, and as they are isolated from each other, enabling multiple applications to run independently on a single host machine without interference. This can be scaled up quickly, up or down, allowing applications to adapt to changing demands by spinning up or shutting down instances.
Streamlined Deployment
It streamlines the development and deployment process, promoting collaboration between teams, and offers a more efficient and reliable way to package, distribute, and run applications in a consistent and isolated manner. Thus, allowing the deployment of the Angular application becomes a repeatable and automated process, saving time and effort.
Skyrocket your Angular Development Process with Industry Experts
Hire Angularjs Development Company like Bacancy to help you experience the perfect blend of advanced technology, beautiful design, and seamless functionality for your Angular Docker Containerization App.
Steps to Dockerize Angular Apps
We know that Dockerization or Containerization involves encapsulating an application along with its libraries, binaries, and configuration files into a container image which is a standalone executable package that contains everything needed to run the application, including the code, runtime environment, system tools, and system libraries. It provides an isolated and consistent environment for the application, regardless of the underlying host system. Let us move ahead with the Steps to Dockerizing Angular Apps.
Installation
Let us start installing the necessary components for the Angular Docker App: Nginx, Angular, Node, and Docker. To install, you can follow the steps given below:
- Install Nginx, a lightweight web server serving your Angular app that you can install based on the instructions for your operating system.
- Install Angular, which requires Node.js and the CLI.
- Install Node.js by downloading the installer for your operating system and following the installation steps. Once the Node image is installed, open your terminal, and to run npm install, enter the below-given code to install the Angular command line interface globally:
- Install Docker: It provides the containerization platform; you can install Docker by following the instructions for your operating system. With Docker installed in your system, you can now create your Application.
Creating an Angular App
Now that all the necessary components are installed let’s create a basic Dockerize Angular apps. Follow the steps below:
- Create a New Project: Open your terminal and run the following command to create a new Angular project:
- Navigate to the Project Directory: Change into the project directory by running the following command:
- Run the Application: Start the development server by running the following command:
You access your app by visiting http://localhost:4200 in your web browser.
Dockerizing Angular Applications
With your app up and running, let us move forward with the process to Dockerize Angular Apps for which you can follow the process below:
- Creating Dockerfile: In the root directory of your Angular project, create a file named Dockerfile (without any file extension) and open it in a text editor.
- Add Dockerfile Instructions: Copy and Paste the instructions given below into your Dockerfile:

# Use an official Nginx image as the base image
FROM nginx

# Copy the built Angular app to the appropriate location in the container
COPY dist/my-angular-app /usr/share/nginx/html

# Expose port 80 for the Nginx server
EXPOSE 80

# Start the Nginx server when the container starts
CMD ["nginx", "-g", "daemon off;"]
These instructions illustrate that we want to use the official Nginx image as the base for our Docker image. Then copy the built app (located in the dist/my-angular-app directory) into the proper location within the container. Expose port 80, the default port for Nginx, and finally, we start the Nginx server when the container starts.
- Create a Docker Image: In your terminal, navigate to the root directory of your Angular project where the Dockerfile is located. The below-given code will build the image and tag it with the name my-angular-app.
- Run the Docker Image: Once it is built, run the command below to start a Docker container based on the image:
The code above runs the Docker container in detached mode (-d flag), mapping container port 80 to port 80 of the host machine (-p 80:80 flag), and uses the my-angular-app image.
Your Angular Docker application is now running inside a Docker container and can be accessed by visiting http://localhost:80 in your web browser.
Deploying the Angular Application with Docker
Now that we have Dockerized Angular App successfully, let’s explore different deployment options for Angular Docker. Below given are two common scenarios:
- Local Environment: When deploying the Dockerized Angular application locally, follow the steps mentioned in the previous section to build and run the Docker image. Ensure that Docker installed and running on your local machine.
- Cloud-based platforms: When deploying your Docker Image to a container registry (e.g., AWS Elastic Container Registry or Google Container Registry), you can use services of Cloud platforms like Amazon Web Services (AWS) or Google Cloud Platform (GCP) that offer services for hosting Docker containers.
CI/CD in Angular Docker Apps
Docker Angular allows simple and easy integration into your CI/CD pipelines to automate the deployment cycle. Let us have a high-level overview of a few of them:
- Set Up A Version Control System: Use Git or any other version control system to manage your project’s source code.
- Configure a CI/CD Tool: Set up a CI/CD tool such as Jenkins, Travis CI, or GitLab CI/CD to monitor your repository for changes and trigger the build process.
- Build the Docker Image: Configure your CI/CD tool to build the Docker image whenever changes are detected in the repository. This can be achieved by executing the same Docker build command (docker build -t my-angular-app .) within your CI/CD pipeline.
- Push Docker Images: Push it to a container registry such as the Docker Hub registry after successfully building it and run Docker Containers using the Docker run command.
- Deployment: Configure your CI/CD tool for deploying the Docker image to your desired environment, whether a local environment or a cloud-based platform.
Testing & Debugging Angular Applications in Docker Containers:
Testing and debugging are crucial for ensuring the quality and reliability of your Angular application. Here are some techniques for testing and debugging containerized applications:

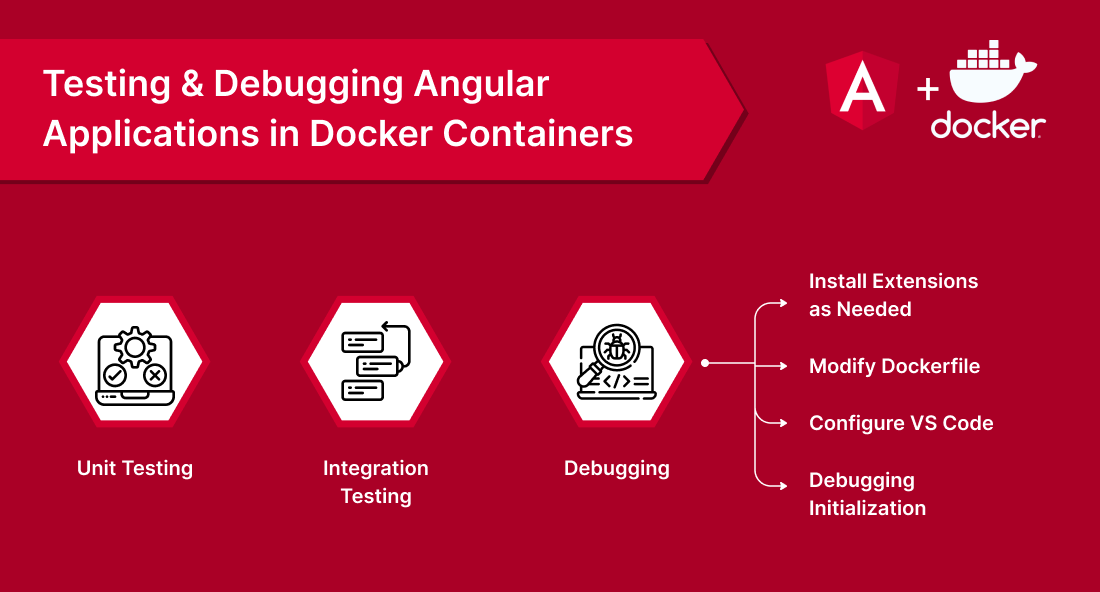
- Unit Testing: Use tools like Karma and Jasmine to write and run unit tests for your Angular components, services, and directives. These tests can be executed within the Docker container by running appropriate commands inside the container.
- Integration Testing: Write integration tests to ensure that different components of your Angular application work correctly together. Tools like Protractor or Cypress can be used for end-to-end testing within the Docker container.
- Debugging: Using various techniques, Debugging Angular build applications running in Docker containers can be achieved. One approach is to leverage the remote debugging capabilities of development tools like Visual Studio Code (VS Code). Here’s how you can set up debugging for your Dockerized Angular application:
Install Extensions as needed: In VS Code, install the “Docker” and the “Debugger for Chrome” extensions.
Modify dockerfile: Update your Dockerfile to include the following lines after the FROM instruction:

# Install the debugger for Node.js
RUN apt-get update && apt-get install -y \
    curl \
    && rm -rf /var/lib/apt/lists/*

# Install the Node.js debugger extension for VS Code
RUN curl -sL https://deb.nodesource.com/setup_14.x | bash -
RUN apt-get install -y nodejs

# Expose the default debugging port
EXPOSE 9229
These lines install the necessary dependencies and expose port 9229 for debugging.
Run the following command to build and run the image with debugging support:
This command maps port 9229 of the container to port 9229 of the host machine, allowing debugging connections.
Configure VS code: Open your Angular project in VS Code and navigate to the “Run and Debug” panel. Click on the gear icon to create a new launch configuration. Select “Node.js” as the environment and update the configuration file with the following content:

{
  "type": "node",
  "request": "attach",
  "name": "Attach to Docker",
  "port": 9229,
  "localRoot": "${workspaceFolder}/dist/my-angular-app",
  "remoteRoot": "/usr/share/nginx/html"
}
This configuration specifies the port to attach for debugging and sets the local and remote paths for the application code.
Debugging initialization: Start the debugging session by selecting the “Attach to Docker” configuration in the VS Code debugger and clicking the “Start Debugging” button. VS Code will connect to the running of the container, allowing you to set breakpoints, inspect variables, and step through your Angular application code.
Optimizing Docker Images for Angular
Optimizing Docker Images for Angular boosts efficiency and looks after the overall changes into the same. To optimize your Docker Images for Angular applications, you can consider the following technique given below:

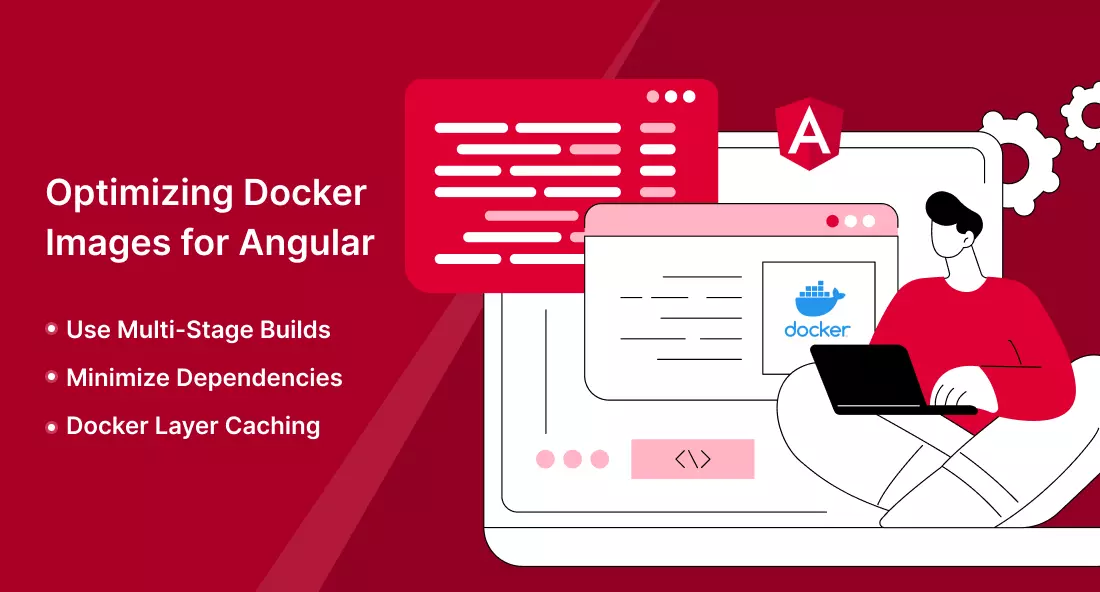
- Use Multi-Stage Builds: Utilize multi-stage builds in your Dockerfile to reduce the size of the final image. Separate the build process from the runtime environment, allowing you to discard unnecessary builds in the final image.
- Minimize Dependencies: Only include the necessary ones in your image. Avoid installing unnecessary packages or libraries not required for your application to function.
- Docker Layer Caching: Structure your Dockerfile to leverage Docker layer caching. Place frequently changing instructions (such as installing dependencies) towards the end of the file to benefit from cached layers during subsequent builds.
Security Best Practices for Dockerized Angular Applications
When Dockerizing your Angular application, following security best practices is important. Here are some recommendations:
🟠 Implement Container Hardening
🟠 Secure Container Networks
🟠 Protect Sensitive Data
🟠 Keep Docker and its Components Updated
🟠 Scan for Vulnerabilities
🟠 Practice Container Isolation
Scaling and Load Balancing Angular Applications with Docker
Scalability is a point of interest for every business owner. Docker Angular enables easy scalability and load balancing for Angular apps. Here’s an overview of the process:

- Container Orchestration: Utilize container orchestration platforms like Docker Swarm or Kubernetes to manage your Dockerized Angular app deployment, scaling, and load balancing across a cluster of nodes.
- Horizontal Scaling: To scale your application horizontally, you can create multiple instances of the Docker container running your application. Docker Swarm or Kubernetes can manage the container orchestration and scaling process.
- Load Balancing: Implement a load balancer, such as Nginx or HAProxy, in front of your Docker containers. The load balancer distributes incoming requests across container instances, ensuring efficient resource utilization and improved application performance.
Conclusion
Docker provides developers with a powerful toolset for streamlining the development and deployment of applications. By Dockerizing your Angular app, you can achieve consistency, portability, scalability, and enhanced security. We are sure that this tutorial gave you significant insight into Dockerize Angular Apps on various parameters and aspects Embracing Docker in your Angular development workflow empowers you to build robust, efficient, and easily deployable applications more efficiently and reliably.
However, if you are a business owner and are confused if Angular Docker is beneficial for your web application development, then you can Hire AngularJS Developer from Bacancy to help you get the most out of your Angular application.
Your Success Is Guaranteed !
We accelerate the release of digital product and guaranteed their success
We Use Slack, Jira & GitHub for Accurate Deployment and Effective Communication.


