Laravel Mail Example: How to Send an Email using Markdown Template in Laravel 8?

Last Updated on January 8, 2024
Quick Summary:
Sending an email is one most important features of any project. In this tutorial, you will learn how to send emails using Markdown Template with the help of Laravel Mail Example. Implementation of the Markdown template is not a difficult task. Yes, you heard it correctly! But, still you haven’t played around it, here’s a step-by-step tutorial, that will provide you with instructions for sending an email using Markdown.
Table of Contents
Tutorial Goal: Laravel Mail Example using Markdown Template
Before diving into building a demo application, let’s see this video to clarify what we are building here.
The user will enter the name and email address, and after clicking on submit button, an email will be sent to the entered email address. Login to that email address, and there you can see the email.
Step-by-step guidelines: Laravel Mail Example: How to Send an Email using Markdown Template in Laravel 8?

Step 1: Create Laravel Project

composer create-project laravel/laravel --prefer-dist BacancyEmail
Step 2: Configuration Setup.
We are going to Set Mail Configuration here. For that, we will add our Gmail SMTP configuration such as name, password, etc. (Allow two-step verification and control access to less secure apps. in Gmail). We will use our .env file and add the configurations, which are described below.
.env
MAIL_MAILER=smtp
MAIL_HOST=smtp.gmail.com
MAIL_PORT=587
MAIL_USERNAME=prashantkhunt1999@gmail.com
MAIL_PASSWORD= (third party app password <a href="https://support.google.com/accounts/answer/185833?hl=en" target="_blank">click hear</a>)
MAIL_ENCRYPTION=tls
MAIL_FROM_ADDRESS=prashantkhunt1999@gmail.com
MAIL_FROM_NAME="${APP_NAME}"
Step 3: Create Mail with Markdown.
In this section, we will create a Mailable Class with Markdown. A new Mailable class, which provides us to use Laravel event. It also provides the facility to re-use them anywhere in the application. For this, we will first create a class of Mailable, and for that, we will run the below artisan command-
php artisan make:mail BacancyMail --markdown=emails.BacancyMail
By running the above command, two files are generated:
- app/Mail/BacancyMail.php
- resources/views/emails/BacancyMail.blade.php
Open the BacancyMail.php file in our app folder and then write the below code.
app/Mail/BacancyMail.php
<?php

namespace App\Mail;

use Illuminate\Bus\Queueable;
use Illuminate\Contracts\Queue\ShouldQueue;
use Illuminate\Mail\Mailable;
use Illuminate\Queue\SerializesModels;

class BacancyMail extends Mailable
{
    use Queueable, SerializesModels;

    public $body;

    /**
     * Create a new message instance.
     *
     * @return void
     */
    public function __construct($body)
    {
        $this->body = $body;
    }

    /**
     * Build the message.
     *
     * @return $this
     */
    public function build()
    {
        return $this->markdown('emails.BacancyMail')->with('body',$this->body);
    }
}
Step 4: Create a Controller for Mail.
In this step, we are going to create a Controller Method. We will Create MailController as a new controller. Run the following command to create MailController.
php artisan make:controller MailController
Now we will use our MailController file and add the sendMail() function into it. Using this file, we can quickly write the mail send code, which is described as follows.
app/http/Controllers/MailController
<?php

namespace App\Http\Controllers;
use App\Mail\BacancyMail;
use Illuminate\Http\Request;
use Mail;
class MailController extends Controller
{
    public function sendMail(Request $request)
    {
        $data = $request->validate([
            'name'=>'required',
            'email'=>'required|email'
        ]);
        $email = $data['email'];

        $body = [
            'name'=>$data['name'],
            'url_a'=>'https://www.bacancytechnology.com/',
           'url_b'=>'https://www.bacancytechnology.com/tutorials/laravel',
        ];

        Mail::to($email)->send(new BacancyMail($body));
        return back()->with('status','Mail sent successfully');;
    }
}
Step 5: Create a simple form
Moving forward towards our Laravel Mail Example, now we will create one form in this step that takes the name and email from the user.
Open resources/views/welcome.blade.php and add the below-mentioned code in the body section of the welcome page.
resources/views/welcome.blade.php
<body class="antialiased">
 <div
   class="relative flex items-top justify-center min-h-screen bg-gray-100 dark:bg-gray-900 sm:items-center py-4 sm:pt-0">

   <div class="max-w-6xl mx-auto sm:px-6 lg:px-8">
     @if (session('status'))
     <div class="alert alert-success">
       {{ session('status') }}
     </div>
     @endif
     <div class="flex justify-center pt-8 sm:justify-start sm:pt-0">
       <h2>Bacancy Technology Mail Sending Tutorials</h2>
     </div>

     <div class="mt-8 bg-white dark:bg-gray-800 overflow-hidden shadow sm:rounded-lg">
       <div class="grid grid-cols-1 md:grid-cols-2">
         <div class="p-6">


           <div class="ml-12">
             <form action="{{route('send.email')}}" method="POST">
               @csrf
               <h6>Enter Name</h6>
               <input style="background:DarkGrey; width:500px; height:35px" type="text" name="name" value="" />
               <br>
               <h6>Enter Email </h6>
               <input style="background:DarkGrey; width:500px; height:35px" type="email" name="email" id="email">
               <br><br><br>
               <input class="btn btn-dark btn-block" type="submit" value="submit" name="submit">
             </form>
           </div>
         </div>
       </div>
     </div>
   </div>
 </div>
</body>
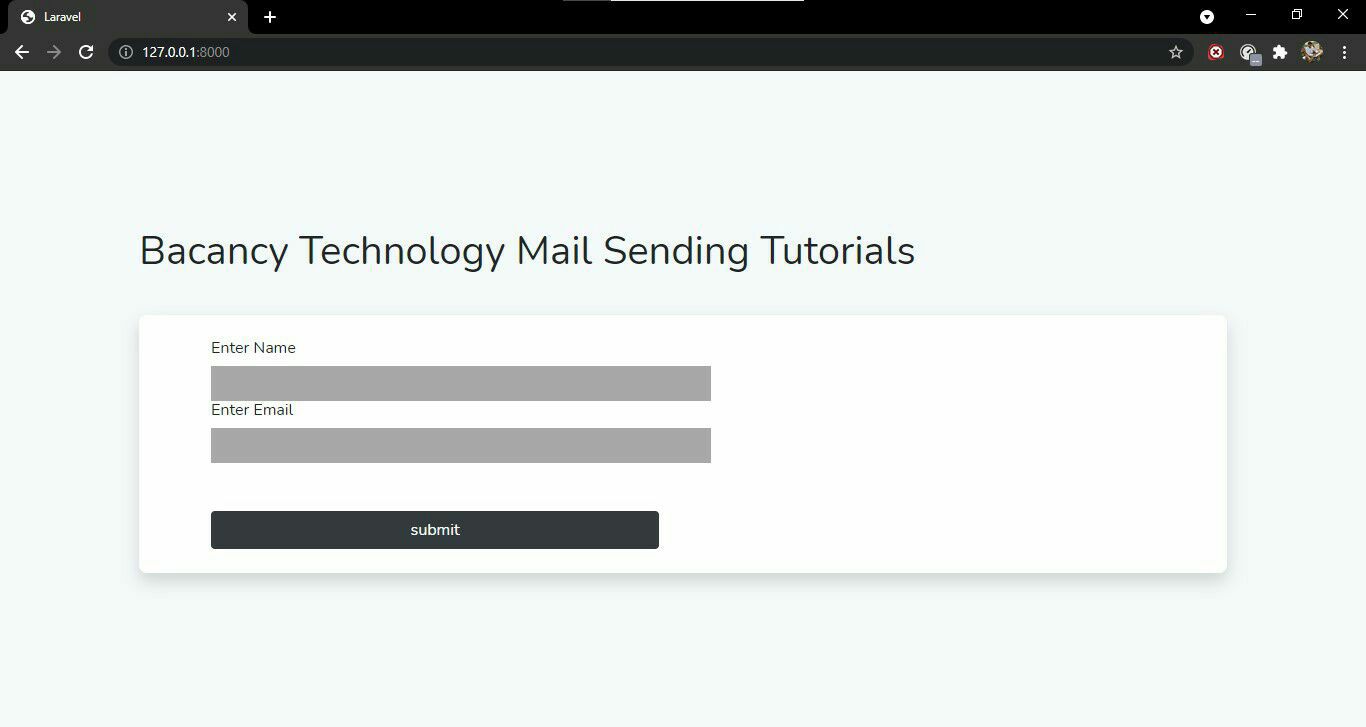
The UI would be something like this-
Step 6: Create Body for the Mail.
In step 3, we have created a blade file named BacancyMail.blade.php for a laravel email template. This file will be useful to write the design code. We will add the below code into that file.
resources/views/emails/BacancyMail.blade.php
@component('mail::message')
<h2>Hello {{$body['name']}},</h2>
<p>The email is a sample email for Laravel Tutorial: How to Send an Email using Laravel 8 from @component('mail::button', ['url' => $body['url_a']])
Bacancy Technology
@endcomponent</p>

<p>Visit @component('mail::button', ['url' => $body['url_b']])
Laravel Tutorials
@endcomponent and learn more about the Laravel framework.</p>


Happy coding!<br>

Thanks,<br>
{{ config('app.name') }}<br>
Laravel Team.
@endcomponent
Step 7: Define the Route.
In this step, we are going to Create Route. We will create this for our testing mail. For this, we will use our web route file; go to the web.php file and define the following route.
web.php
Route::get('/', function () {
   return view('welcome');
});

Route::post('/sendBacancyMail',[MailController::class,'sendMail'])->name('send.email');
Step 8: Run the project
Now, finally we are done without the Laravel mail example. Run the project by using this command:
php artisan serve.
Hit http://127.0.0.1:8000/, and you’ll see the user interface. Enter the name and email address; you’ll receive an e-mail on that email id.
You can find the entire source code here – Github Repository.
Conclusion
So, this was a beginner’s guide on how to send email using the Markdown template in Laravel 8. The Laravel Mail example was pretty straightforward, right? So, clone the github repository and start playing around with the code! I hope the Laravel Markdown email example was helpful to you. Visit Laravel Tutorial to explore more about Laravel.
Bacancy Technology has dedicated and skilled Laravel developers. Are you looking for a Laravel expert? If yes, then without wasting a second, contact us and hire Laravel developer. We ensure to provide the best and proficient Laravel developers who can meet your requirements.
Happy Coding!

Related Blogs


Expand Your Digital Horizons With Us
Start a new project or take an existing one to the next level. Get in touch to start small, scale-up, and go Agile.
Your Success Is Guaranteed !
We accelerate the release of digital product and guaranteed their success
We Use Slack, Jira & GitHub for Accurate Deployment and Effective Communication.

