Table of Contents
Tutorials Goals: Deploy ROR App Using NGINX
Don’t know how to deploy ROR App using NGINX? This tutorial is for you! We will discuss
- Installing rvm
- Configuring Ruby
- Using NGINX as a reverse proxy using the Phusion Passenger module that will buffer requests and responses between users and your rails application.
Install RVM
RVM, or Ruby Version Manager, is a command-line tool that allows you to easily install, manage, and work with multiple ruby environments, from interpreters to sets of gems.
You need to install software-properties-common add PPA repositories if they do not exist.
Add the PPA
Update the Packages using apt-get
Install rvm using below command
Once all installation is completed, load the RVM to the system using the following command.
Install and Configure Ruby
Fire the below command to install the latest stable version of ruby and set the default ruby version.

rvm install ruby
ruby --version  // will display ruby version

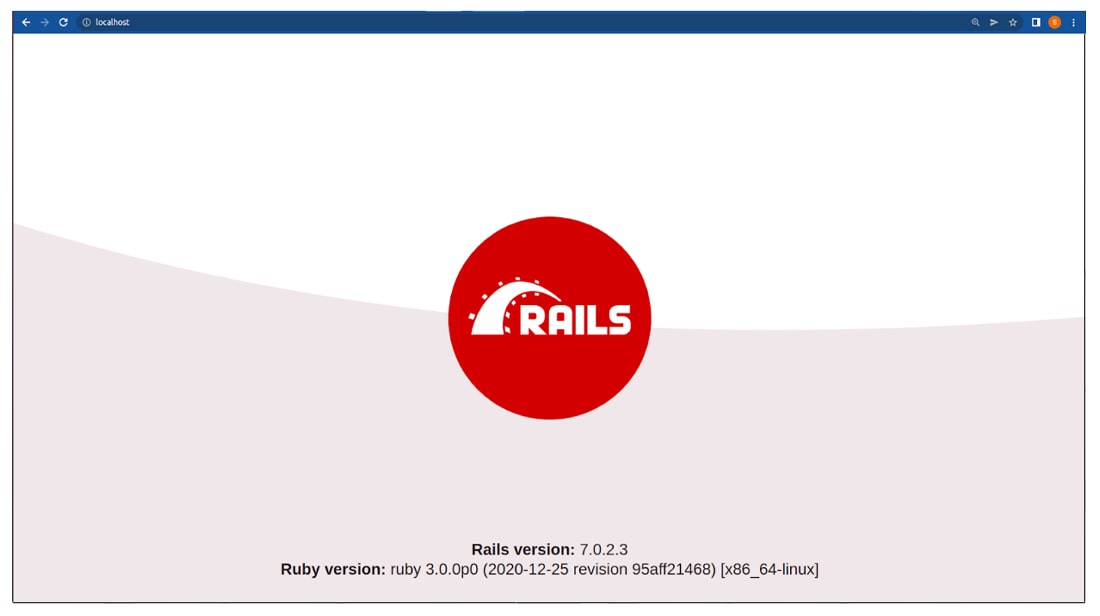
ruby 3.0.0p0 (2020-12-25 revision 95aff21468) [x86_64-linux]

rvm --default use ruby-3.0.0
Develop. Optimize. Deploy. Repeat.
We have what you need – dedicated, highly skilled, and shrewd Ruby on Rails developers. Contact us today to get the best! Hire Ruby on Rails developer from us now!
Install NodeJS and Yarn
We need to install javascript runtime for compiling asset pipeline in ruby on rails application.So we will use the NodeJs and Yarn package manager, which can be installed from the Nodesource repository.
Before installing Yarn and NodeJs, install some dependency
Add NodeJs NodeSource repository.
Add the GPG key and repository of the Yarn package manager.

curl -sL https://dl.yarnpkg.com/debian/pubkey.gpg | sudo apt-key add -
echo "deb https://dl.yarnpkg.com/debian/ stable main" | sudo tee /etc/apt/sources.list.d/yarn.list
Update all available repositories and install nodejs and yarn using the apt command.
You can check the version of node and yarn using the below command.

node --version (will print the installed node version)
yarn --version(will print the installed yarn version)
Install Rails
In this step, we will install the latest version of Rails through the RubyGem package manager. But before installing gems, we should update the RubyGem using the below command.
Install the latest version of rails.
Check the rails version
Create a New Rails Application
Creating new rails project “< app_name >” using rails.
Install Passenger and NGINX
Install the latest version of passenger.
Run the Passenger Nginx module installer using rvmsudo and follow the on-screen instructions.
If you get an error then please run one of the below commands; after that rerun the previous command.
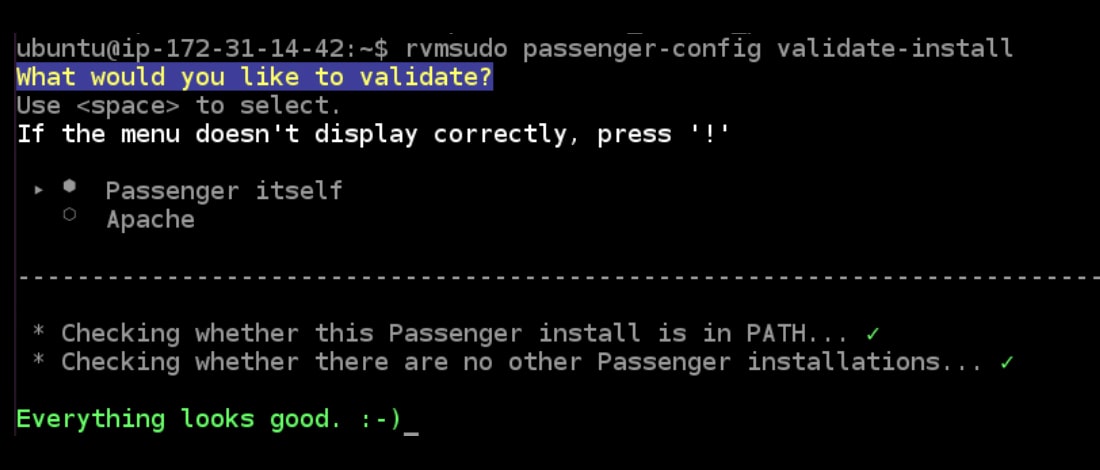
After installation, please validate the install by running the below command

All checks should pass. If any of the checks do not pass, please follow the suggestions on the screen.
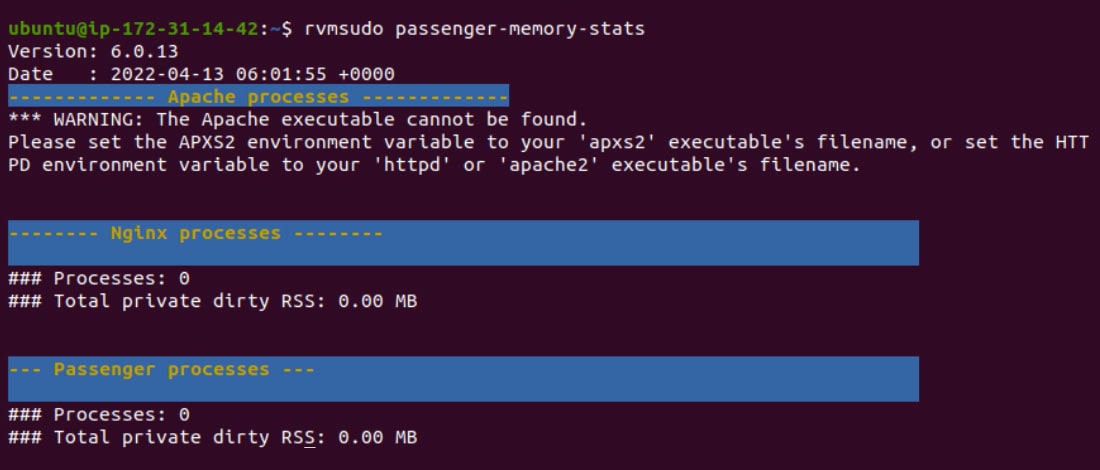
Finally, check whether Nginx has started the Passenger core processes using
You should see Nginx processes as well as Passenger processes,as shown below.

File Location
Remember that at some point, rvmsudo passenger-install-nginx-module asked you where to install Nginx to, and asked you for a “prefix”, right? The prefix is the directory in which this new Nginx is installed. By default, the installer picks the directory /opt/nginx. In this section we will assume that you installed the default prefix directory. If you specified a different prefix, simply substitute /opt/nginx with the actual directory.
Nginx’s configuration files are then located in /opt/nginx/conf. Its log files are located in /opt/nginx/logs.
Moving towards to the next section of how to deploy ROR app using NGINX and start configuring NGINX.
Configure NGINX
Open nginx.conf using text editor

worker_processes  1;

events {
    worker_connections  1024;
}


http {
    passenger_root /home/sanket/.rvm/gems/ruby-3.0.0/gems/passenger-6.0.13;
    passenger_ruby /home/sanket/.rvm/gems/ruby-3.0.0/wrappers/ruby;

    include       mime.types;
    default_type  application/octet-stream;
    sendfile        on;
    keepalive_timeout  65;

    server {
        listen       80;
        server_name  localhost;

        location / {
            root   html;
            index  index.html index.htm;
        }

       error_page   500 502 503 504  /50x.html;
        location = /50x.html {
            root   html;
        }
    }
}
Replace the code snippet server { … } with the below snippet

server {
listen 80 default_server;
server_name localhost;  ## You can add your ip
passenger_enabled on;
passenger_app_env development;  ## you can add your environment here
root /public;
}
Start NGINX
Run the following command to start Nginx.

Stop NGINX
Run the below command to stop Nginx.
Conclusion
I hope the purpose of landing on this tutorial has served you well. Are you keen to learn about ROR? Do you want to dive deep into advanced knowledge of ROR? Then ROR tutorials page is for you! Feel free to visit more such Ruby on Rails tutorials and explore fundamentals of ROR. If you have any questions, feedback, or suggestions, write us back without any hesitation.
Your Success Is Guaranteed !
We accelerate the release of digital product and guaranteed their success
We Use Slack, Jira & GitHub for Accurate Deployment and Effective Communication.


